DAT34 Installation
Install the DAT34 program on a computer to look at survey results.
1.If the DAT34 program is not already installed
on the computer, the user must first install it. Make sure to have administrative privileges to install this program before beginning. If the user doesn’t, he may need to talk to the IT department at the company to gain privilege to install DAT34 on a computer. An installation CD may be provided with a rental containing EM34 manuals and a copy of this program. If this program cannot be located, visit http://geonics.com/html/downloads.html and click the program DAT34W(Windows). Click and save the file.
2.Unzip the Program.
This program will be saved as a folder named Setup34, containing zip files. Right click the Setup34 Folder and select Extract All. After clicking Extract, the user will need a password provided by either Geonics or a rental company. At times, one may find that there are other issues with unzipping the files. If this is the case, the user may receive a copy via email that has been extracted. However, to avoid antivirus and other software blocks the file(s) will likely have the extension (name.xxx) part of the program changed from “name.exe” to “name.txt”. The “.txt” allows the file(s) to be download via email. After the user receives the program file with the “.txt” extension the file will need to be renamed to “.exe” before it will run in Windows.
3. Navigate the program’s installation wizard.
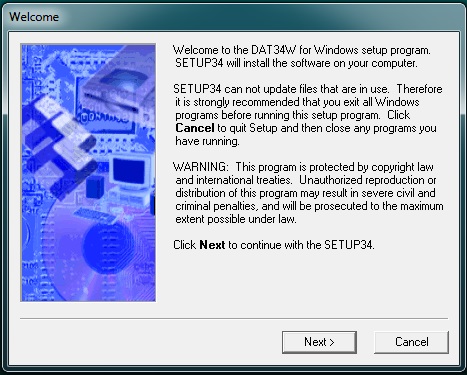
Read the Welcome Screen and click Next. It is important to close all other programs before running the installation program.
4. If asked for, enter the serial number provided by either Geonics
or a rental company. A serial number may be asked for if the user downloads the setup program from the Geonics website. A serial number may not be asked for if the user acquires the program via CD-ROM. After entering the serial number, click Next.
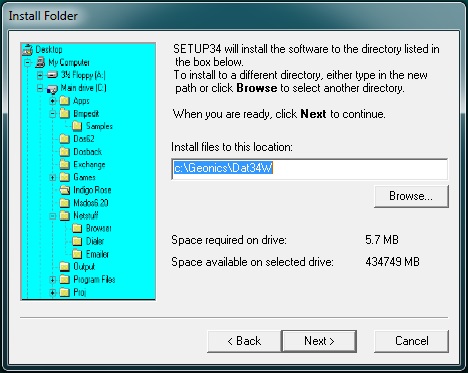
5. Select a Directory for this program.
The program will suggest a directory. If this is acceptable, click Next. If it is not acceptable, change the directory with the Browse Button and then click Next.
The Installation Wizard will also ask the user to add a Shortcut Icon directed to the program. Click the Next Button.
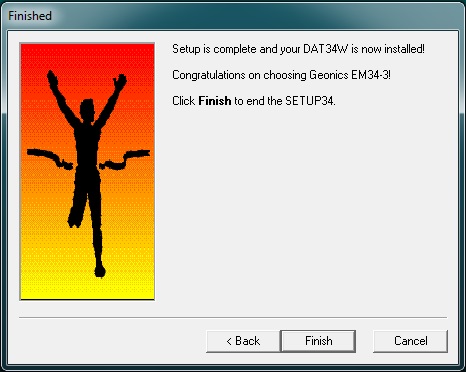
6. Click the Next / Install Buttons until the Finish Page is reached. Push the Finish Button.


