EM61-MK2A Monitor / Log Menu on Archer

EM61-MK2A On Off
1. Turn the EM61-MK2A on.
The switch near the coil needs to be turned to “M.” If the EM61-MK2A is off or not connected, the user will receive a message stating to connect or turn on the instrument. Also, check to see that the fuse button on the rear panel is pushed in.
2. Using the stylus, select the EM61-MK2A Monitor / Log Menu.
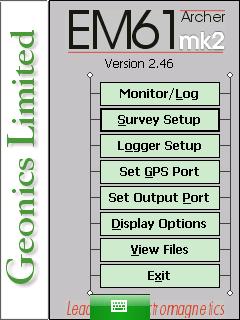
EM61-MK2A Program for Archer
The Monitor / Log will go through a process called Normalization before the user can access its options. This will only take a few seconds.
3. Nulling of the sensors.
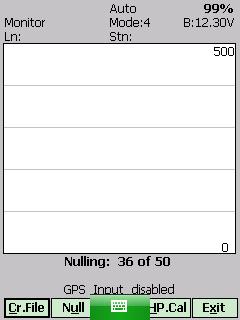
EM61-MK2 Instrument Nulling
Select the Null Button to calibrate the system’s instruments. The EM61-MK2A will take 50 readings and calculate the instrument offset. It is important that the user does this in an area without ferrous materials, see other pages about problems with noise.
4. Calibrate the coil with the Calibration Button.
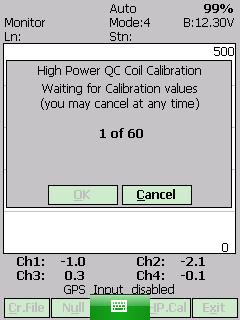
EM61-MK2 QC Coil Calibration
This calibration is used in conjuction with a calibration coil. Calibration coils can be either internal or external. Depending on the coil, it may not come with a calibration coil. On the Archer, Standard or High Power calibration must be selected depending on what kind of EM61 electronics are in use.
To start calibration, push one of these buttons; the instrument will null. After nulling, press the OK Button to continue or the Cancel Button to return to the EM61-MK2A Monitor / Log Menu. Next, a screen displaying seconds and readings will be appear. Follow the directions on the screen until calibration has been determined to be OK.
5. Create a Data File.
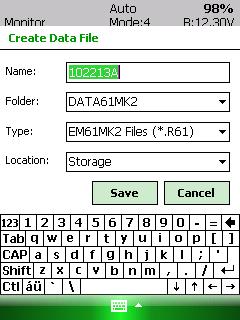
EM61-MK2 Create File
Push the Cr. File Button to access the Create Data File Menu. Name the file and determine it’s folder, type, and storage location. In general, the user will not have to change the Folder, Type, and Location Fields but it is important to know where the user’s files are doing to be.
Press the Save Button to create the file and begin monitoring. Once creating a data file, the screen will display another set of buttons.
6. Use the Stylus and press the Go Button to start logging data.
If the Go Button isn’t pushed, the Archer will show changes in measurement but not log.
7. Press Line Button to start a new survey line.

EM61-MK2 New Line Menu
The Line Menu will appear. A new line name and associated parameters will appear based on inputs from the Survey Setup Menu.
8. Create a New Station by pushing the NStn Button.
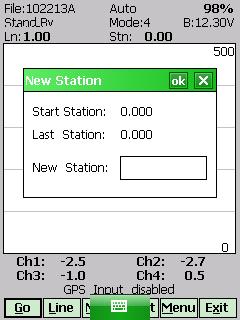
EM61-MK2 EM61 New Station Menu
This creates a new station within the same survey line. A break within the lines on graph will occur to visually signify a new station.
9. Leave a Comment anytime during logging by touching the Cmnt Button with the stylus.
A message of 11 characters can be saved.
10. Modify instrument calibration or display options.
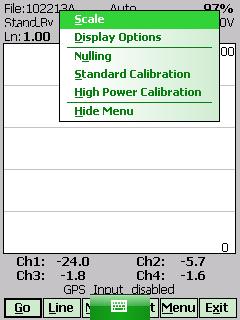
EM61-MK2 Data Display Options Menu
Change display options such channels displayed, channel color, and scale.
Modify instrument calibration through Nulling, Internal Calibration, and External Calibration Options.