EM61-MK2A Display Options Menu
Configure the EM61-MK2A Display Options Menu on the TK6000.
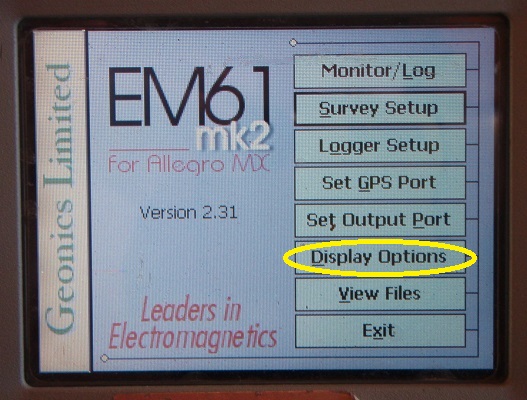
1. Using the stylus, select the EM61-MK2A Display Options Menu.
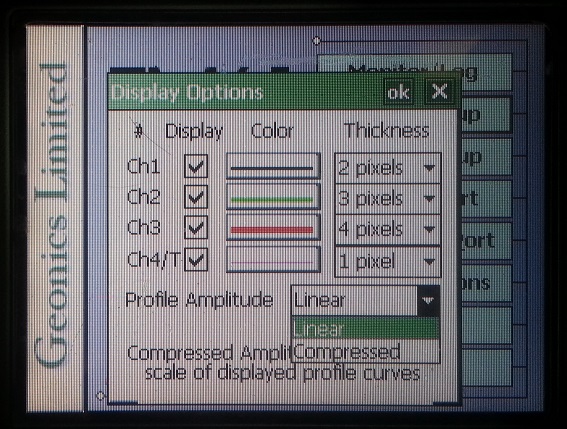
2. Begin by checking or unchecking each Channel.
If a channel is unchecked, it will not be displayed on the data graph. Despite what channels are selected for display, data will be collected for all channels.
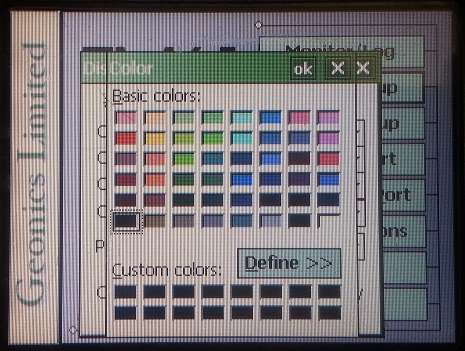
3. Pick a color by clicking the Channel’s corresponding Color Menu.
After clicking the Color Menu, select a color from the color palette.
4. Determine a pixel thickness by clicking the Channel’s corresponding Pixel Thickness Menu.
Choices include 1, 2, 3, or 4 pixels.
5. Select a Linear or Compressed amplitude scale for profiles.
A compressed amplitude makes it possible to display the high dynamic range of EM61-MK2A data in a visible fashion.
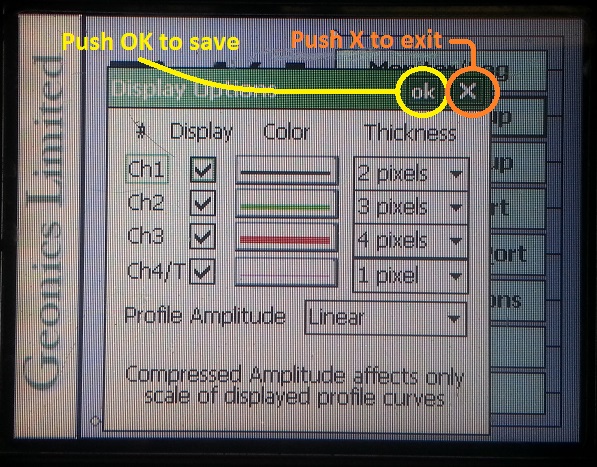
6. After changing the EM61-MK2A Display Options, it is important to save.
Select the OK Button to save. After selecting OK, it is safe to tap the X Button to exit. If the user exits without selecting the OK Button, the changes will not be saved.


