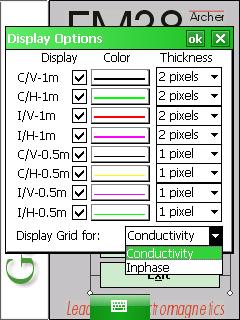
EM38-MK2 Display Options Menu on Archer
Configure the EM38-MK2 Display Options Menu on the Archer.
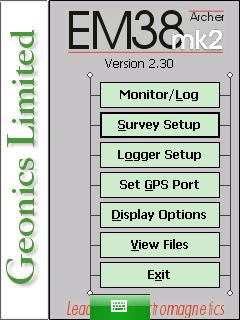
1. Using the stylus, select the EM31-MK2 Display Options Menu.
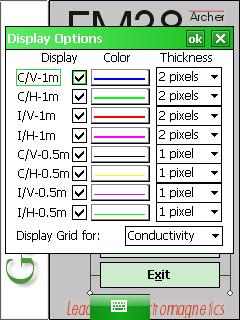
2. Begin by checking or unchecking each component, dipole mode, and coil separation profile.
If a component, mode, or profile is unchecked, its data will not be displayed on the data graph. Despite what components, modes or profiles are selected for display, data will be displayed in the numeric form.
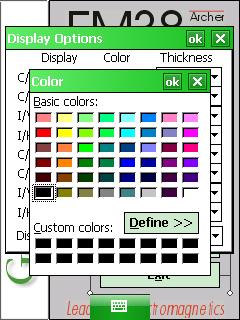
3. Pick a color by clicking the component’s, mode’s, or profile’s corresponding Color Menu.
After clicking the Color Menu, select a color from the color palette.
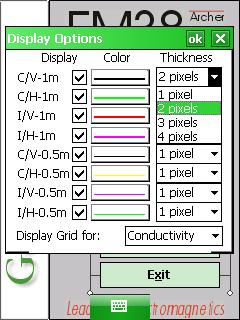
4. Determine a pixel thickness by clicking the component’s, mode’s, or profile’s corresponding Pixel Thickness Menu.
Choices include 1, 2, 3, or 4 pixels.
4. Select a component scale with the Display Grid for: Dropbar Menu.
Both components share the same display, yet they each have their own scale. This option allows the user to display grid lines for a particular component scale. The upper and lower grey grid lines will contain corresponding maximum and minimum values for the component selected.
5. After changing the EM38-MK2 Survey Setup Menu options, it is important to save.
Press the OK Button to save. After pressing the OK Button, it is safe to push the X Button to exit. If the user exits without pushing the OK Button, the changes will not be saved.