EM61 Cart Assembly
How to unpack and assemble the EM61 cart
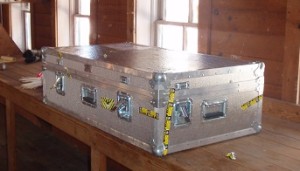
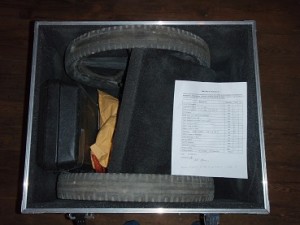
1. The EM61 Cart and all its components will come in one large shipping case containing the EM61 cart frame, handle, coils, and batteries as well as a smaller shipping casecontaining the wheels, Field Computer (TK6000, Allegro CX, or other), and miscellaneous items. Carefully unpack the components and organize them by like items so that you have easy access to all the items. Confirm that you have all the components shipped to you by checking the packing list.
2. Locate the lower coil, usually in the large shipping case, and the two wheels, located in the smaller shipping case.
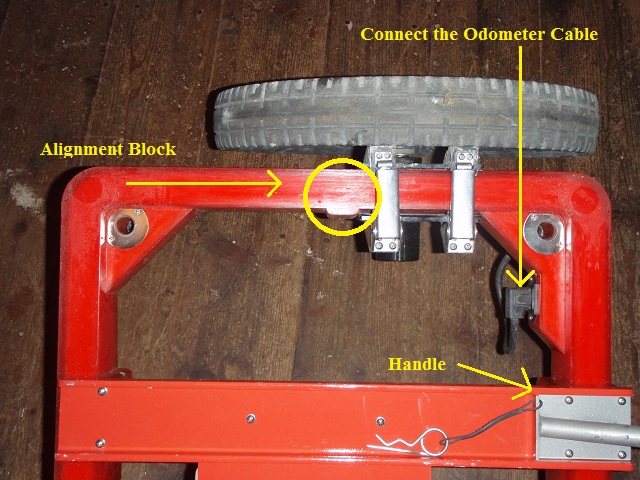
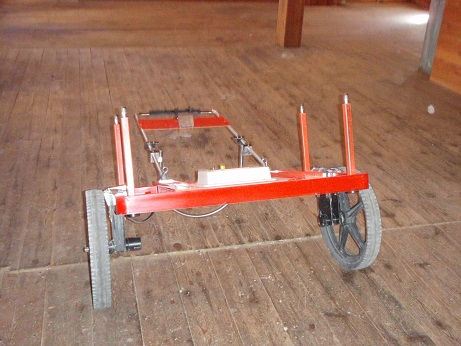
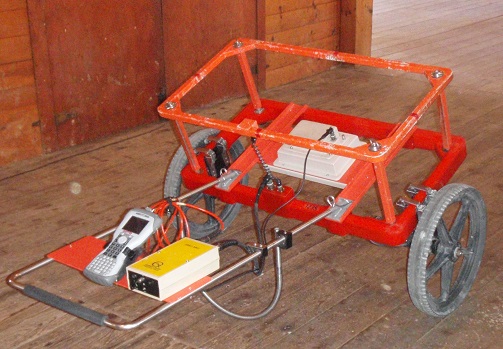
Stand the lower coil upright in order to secure the wheels. Make certain the position of the handle is going to be upright. The wheel with the odometer is going to be on the right side, when holding the handle. Connect the right wheel by sliding the frame into the wheel’s frame receptacle, located to one side of the cart frame’s alignment block. Once the frame is seated, buckle the two clasps. If the buckles are not tight, they can be adjusted by shortening the clasp’s bolt by turning it clockwise. Repeat the same steps for the left wheel. Connect the odometer cable on the right wheel, as shown in the diagram.
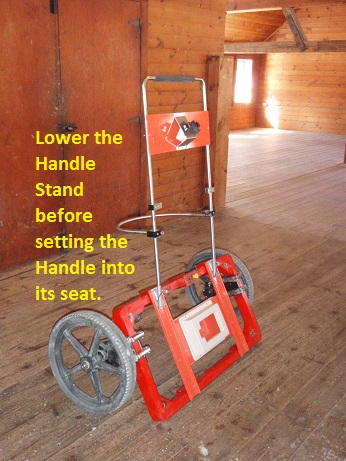
3. Locate the handle and lower the handle stand until it snaps into place. Next, slide the handle into the two handle seat. If the handle stand is not lowered before placing the handle into its receiver, it is difficult to lower in to place afterwards.
Use the stainless steel hitchpins provided to secure the handle to the cart. Do not use any other material to connect the handle as it may have an impact on the EM61’s readings.
4. Lay the stand back onto its handle stand. Locate the four corner posts.
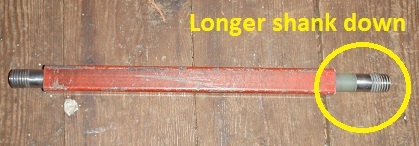
Insert a corner post into one of the threaded holes in each corner of the lower cart frame. Make certain the longer shank of the post is down. Tighten the post by turning it clockwise until it is fully seated.
5. Locate the upper coil and place it upon the four corner posts so that each post is fitted by a bolt hole. The cable ports on the upper coil should be facing down towards the handle.
Tighten each post by finding each stainless steel grasp and twist it clockwise until each fastener is snug.
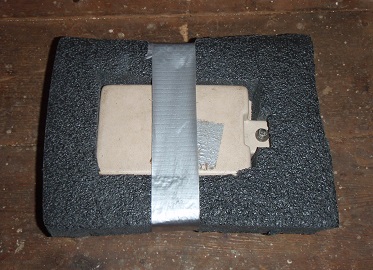
6. Locate the EM61 Cart battery. It is usually wrapped in foam during shipping for protection. Remove any foam and tape. Save this material in order to reuse it when shipping the EM61 back to the rental company.
As shown, insert the battery into the battery holder in the center of the lower cart coil/frame. The battery’s cable port should be on the right side (when holding the handle) while its three screws should face up and align with the battery holder’s screw holes.
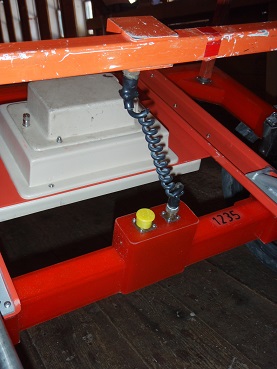
7. Connect the lower coil to the upper coil on the backside of the EM61 cart. In order to connect this cord, it is important to make sure the cable’s three male electrical pins line up properly. Furthermore, the twist connector that holds the cable and ports together has three alignment pegs that must line up before being able to be tightened the connector.
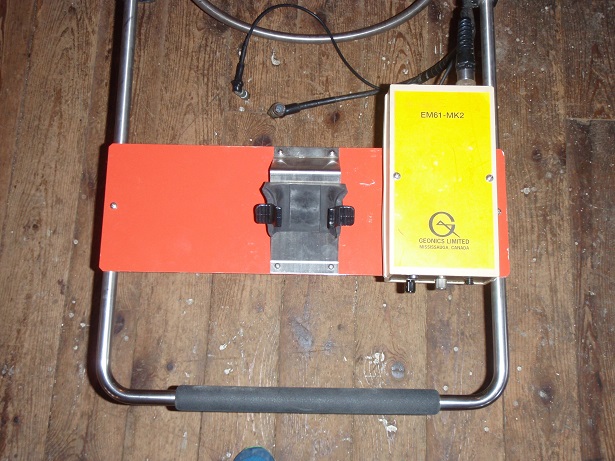
8. Attach the EM61-MK2 electronics to the handle. Make certain the com ports are facing the coils and the screws line up with the EM61-Mk2’s mounting holes.
Connect the EM61-Mk2 electronics to the lower coil. Once again, make sure the cable’s three male electrical pins line up properly with the holes. Furthermore, the twist connector that holds the cable and ports together has three alignment pegs that must line up before the connector can be tightened. Connect the battery to the electronics with the power cable, using the same procedure.
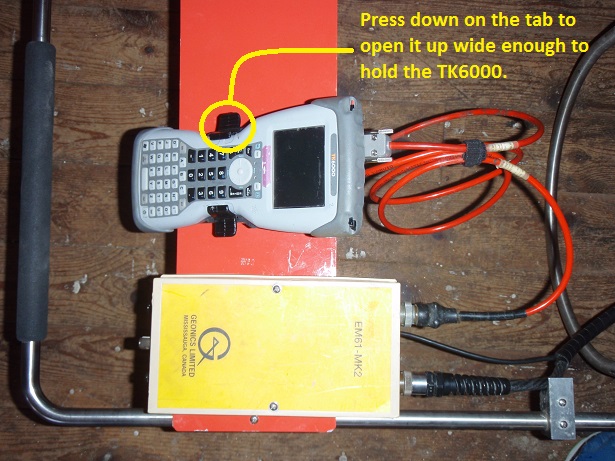
9. Install the field computer by pressing down on one of the black tabs to open up its holder. Insert the skinniest past of the field computer into the holder and release the black tab. Next, connect the serial cable, the orange cord in the picture below, to the field computer’s Com Port 1 (the serial cable can be connected to the other port if enable in the field computer’s setup). Connect the other cable end to the EM61-MK2 electronics, as shown.
10. You’re done! Time to start a survey.
