EM34 Monitor / Log Menu
1. Turn on the EM34.
Perform EM34 Periodic Daily Checks as needed. Set up the survey using the prior menus in the EM34 program. These menus include Survey Setup, Logger Setup, GPS Output Port, and Display Options.
2.Turn on field computer access the EM34 Monitor / Log Menu.
The EM34 Monitor / Log will go through a process of checking for instrument connection as well as GPS receiver performance. If the EM34 is not turned on, the user will receive a message to do so.
3. Create a Data File.
Push the Create File Button with the EM4 Monitor Menu to access the Create Data File Menu.
EM34 Create Files
Name the file and determine its folder, type, and storage location. In general, the user will not have to change the Folder, Type, and Location Fields.

EM34 Save Files
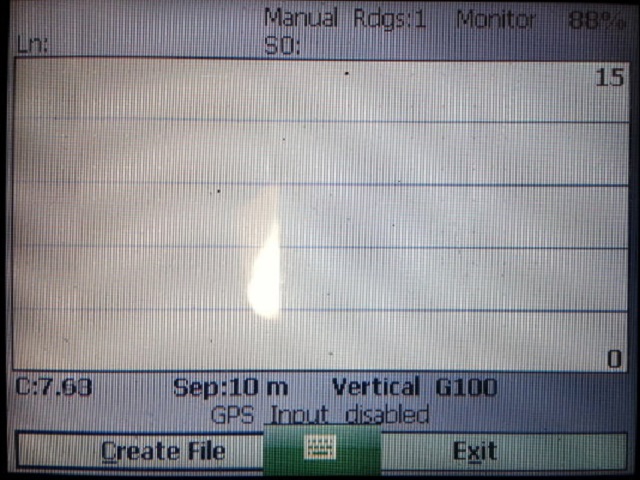
After creating a data file, the screen will display another set of buttons.
4. Use the Stylus and press the Go Button to start logging data.
5. Press Line Button to start a new survey line.
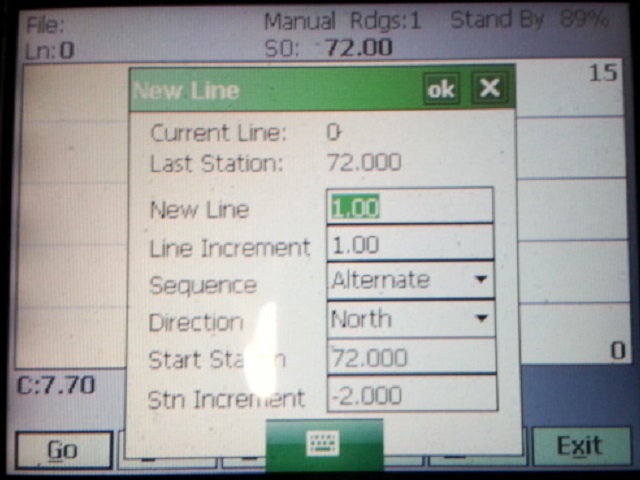
EM34 New Line
The Line Menu will appear. A new line name and associated parameters will appear based on inputs from the Survey Setup Menu.
6. Create a New Station by pushing the NStn Button.
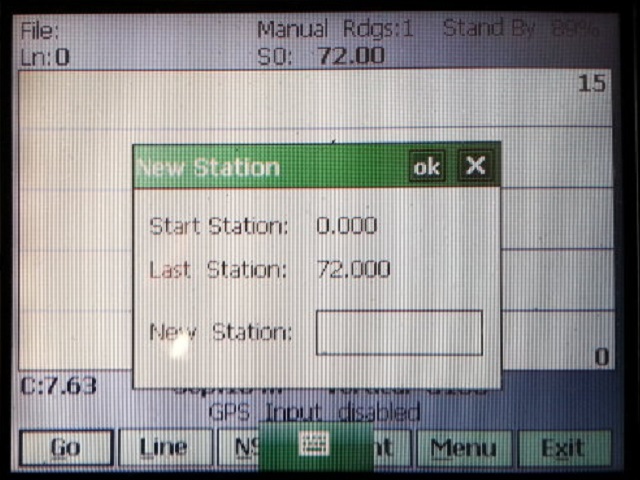
EM34 New Station
This creates a new station within the same survey line. A break within the lines on graph will occur to visually signify a new station.
7. Leave a Comment anytime during logging by touching the Cmnt Button with the stylus. A message of 11 characters can be saved.
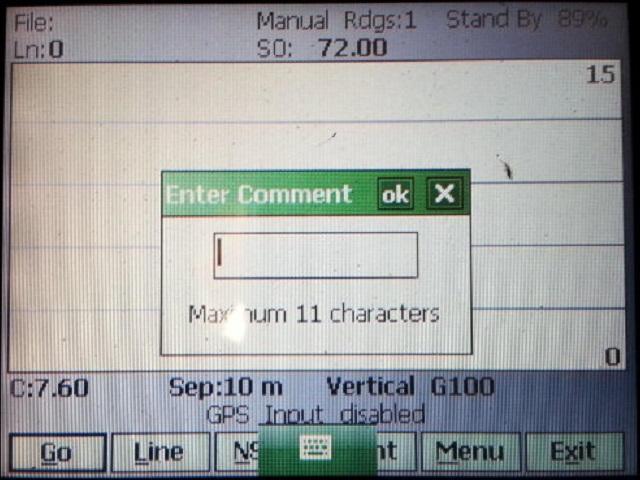
EM34 Enter Comment
8. Modify instrument display options.
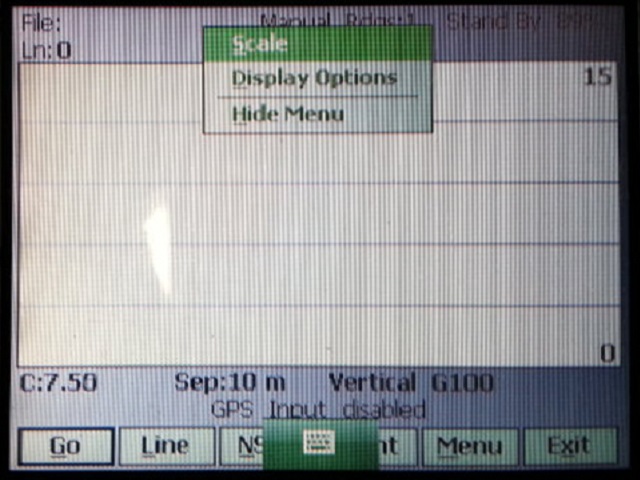
EM34 Monitor Display Options
Change display options such channels displayed, channel color, and scale. These attributes will be the same attributes as programed in the Display Menu on the EM34 Home Screen.