EM34 Data Logger Setup Menu
Configure the EM34 Data Logger Setup Menu.
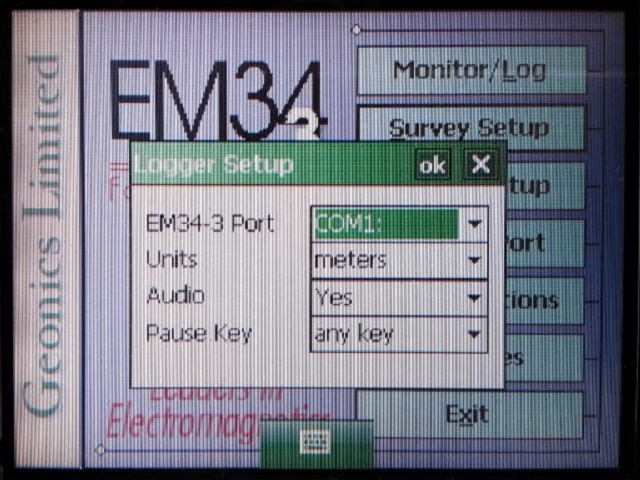
1. Using the stylus, select the Logger Setup Menu.
Picture of EM34 Main Menu
2. Choose the proper communication port
from the second dropbar menu from the top named EM34 Port. This communication port is the port in which your EM34 data logger serial cable will be attached. The default com port is COM1:. This port must be different than the port being used for GPS.
EM34-3 Port
According to Geonics, the manufacturer, “Communication parameters for the selected serial port are set by the program, since the EM34 operates at fixed settings: Baud Rate (9600), Parity (N), Data Bits (8), and Bit Stop (1).”
3. Tap the Units Field
with the stylus to determine whether you want your survey to be displayed in either feet or meters on the EM34 data logger.
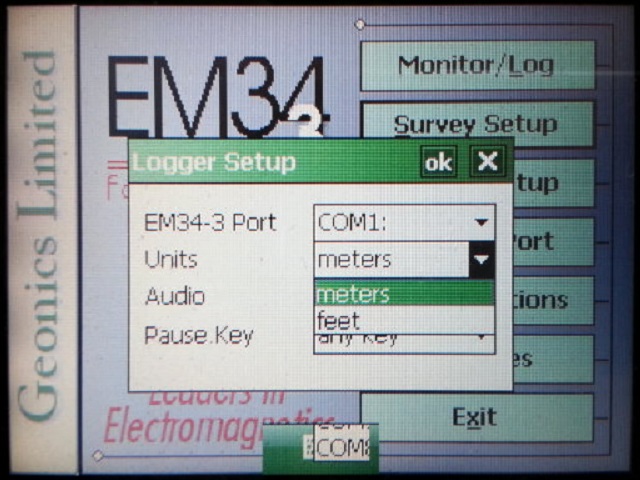
EM34 Logger Units
4. Determine the Audio setting.
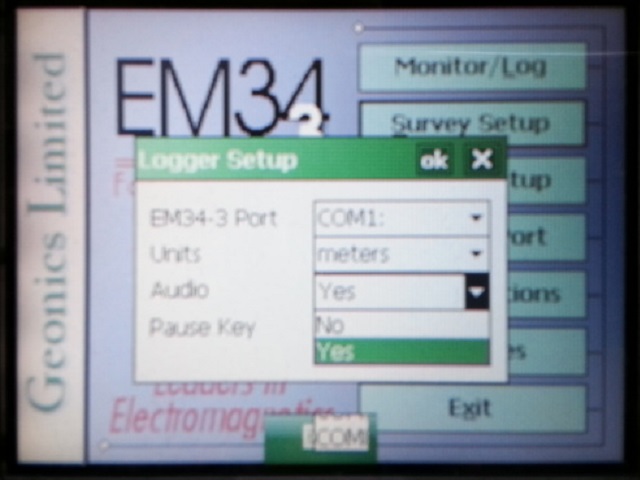
EM34 Audio
Select Yes or No in the Audio Field to determine whether the EM34 data logger has audio. Specifically, it will beep when taking a reading.
5. Select a Pause Key.
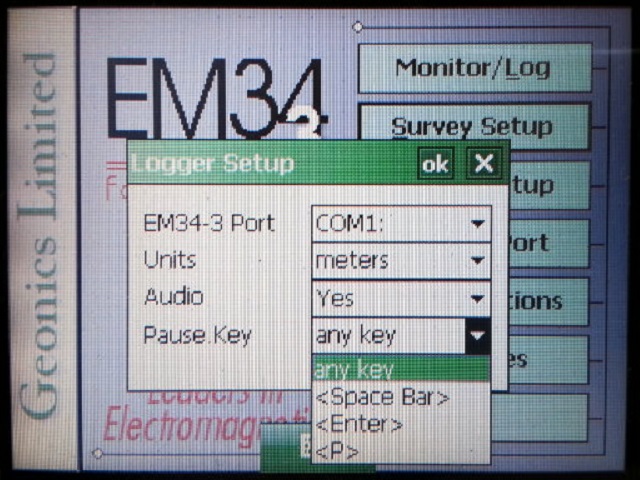
EM34 Pause Key
This key will stop the recording of a data line with the ability to continue if needed. The Pause Key is any key by default.
6. After changing the EM34 Logger Setup Menu options, it is important to save.
Press the OK Button to save. After pressing the OK Button, it is safe to push the X Button to exit. If the user exits without pushing the OK Button, the changes will not be saved.